Adding a new product to the inventory
This guide explains how to add a new product to the inventory from the staff app, including setting price and GST.
Prerequisites
-
You are logged in to the staff app terminal that has edit access to Product.
-
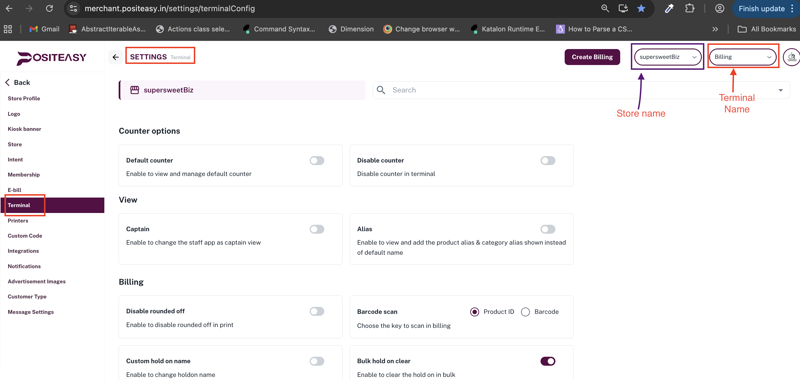
In the merchant app, go to Terminal settings → Inventory management → Product and select the necessary permissions (Add, Edit, Delete).
! Caution : While making changes to the terminal settings in the Merchant app, make sure you have selected the desired terminal.
Step 1: Open the Inventory module
- From the main profile icon, select Inventory → Products.
Step 2: Start adding a new product
- Click Add Product
 .
. - A New Product form or dialog appears.
Example of the Inventory → Products list page.
The New Product form with basic details section.
Step 3: Enter basic product details
In the Basic details section, fill in:
- Product name: The name that will appear on the POS and receipts.
- Description (optional): Short description about the product.
- Category: Choose an existing category from the dropdown (for example, Beverages, Main Course, Desserts).
Ensure the product name is unique and accurate so that reports and search work correctly.
Step 4: Configure pricing and tax
In the Pricing section:
-
Enter the Price.
-
(Optional) Set Base price for margin and profitability reporting.
-
(Optional) If applicable, enable GST and enter the GST percentage (inclusive or exclusive of GST, based on your configuration).

Step 5: Select counter (Optional)
- Select the counter to which this product belongs to.
Refer Add counter to create counters in the merchant app.
Step 6: Save the product
- Click Add Item to create the product.
- After saving, verify that:
- The product appears in the Products list with the correct name and price.
- The product is visible in the Staff App billing screen after account sync.